How to Use Ultimate XR #
Now that UXR is added to the URP Unity project and the settings have been corrected, what do you do now?
- Go to the UltimateXR folder now added to the unity assets window.
- Go to the Prefabs folder, selects Avatars, and then select one of the three avatar assets provided to you.
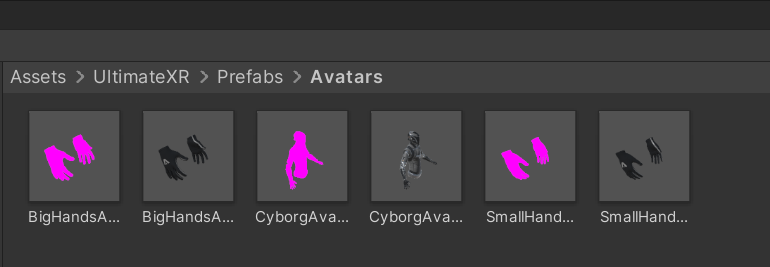
Pink materials are setup for the non-URP render pipeline. UltimateXR provides prefabs with both material types, but are otherwise the same. Ignore or delete the pink ones.
- Drag the prefab into the hierarchy. Set it’s position to 0,0,0. This will make things easier when moving around/coding for the experience.

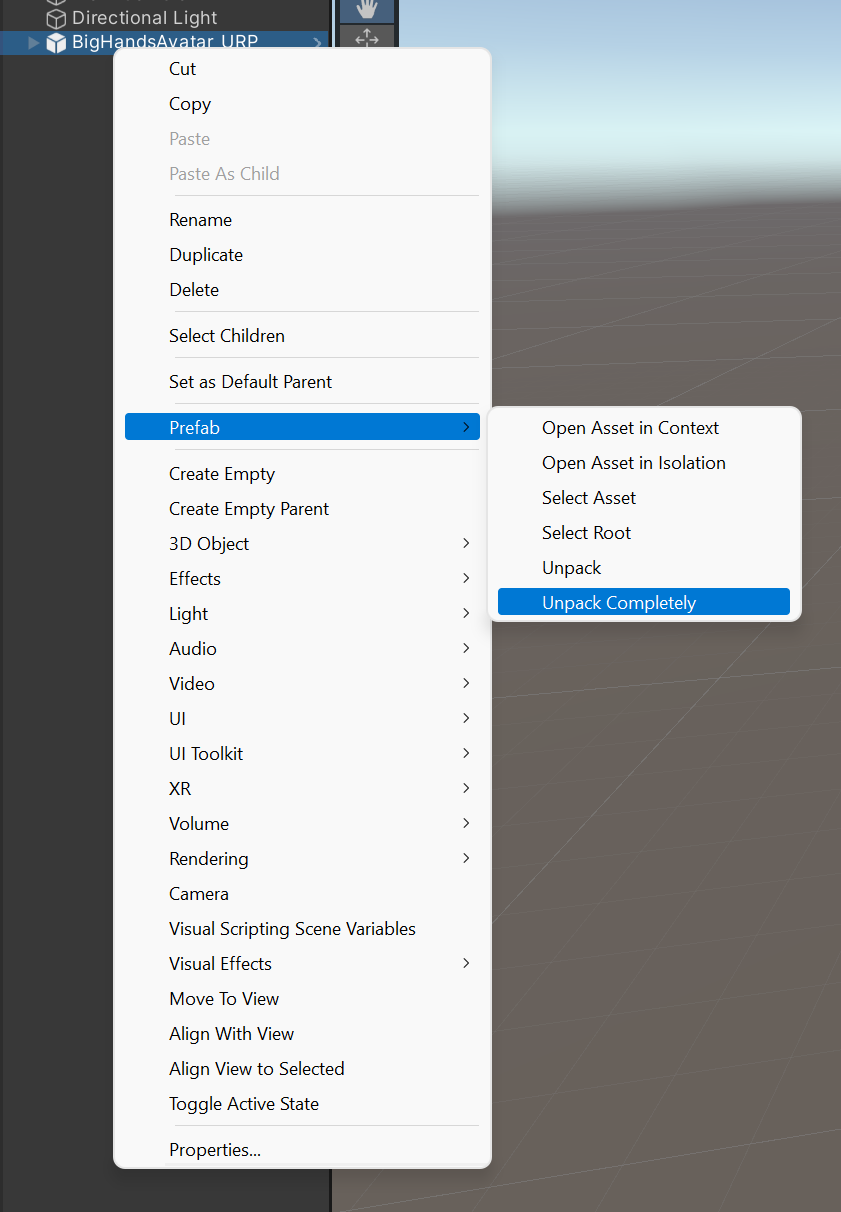
- Completely unpack the prefab.
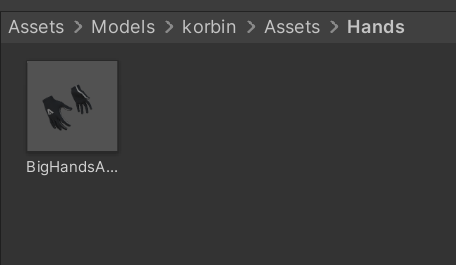
- Make it your own prefab. Create a “Prefabs” folder in the root ‘assets’ folder if you do not already have one. Drag the now-unpacked (and not blue) avatar from the hierarchy into that folder. The GameObject in the scene should turn blue again.
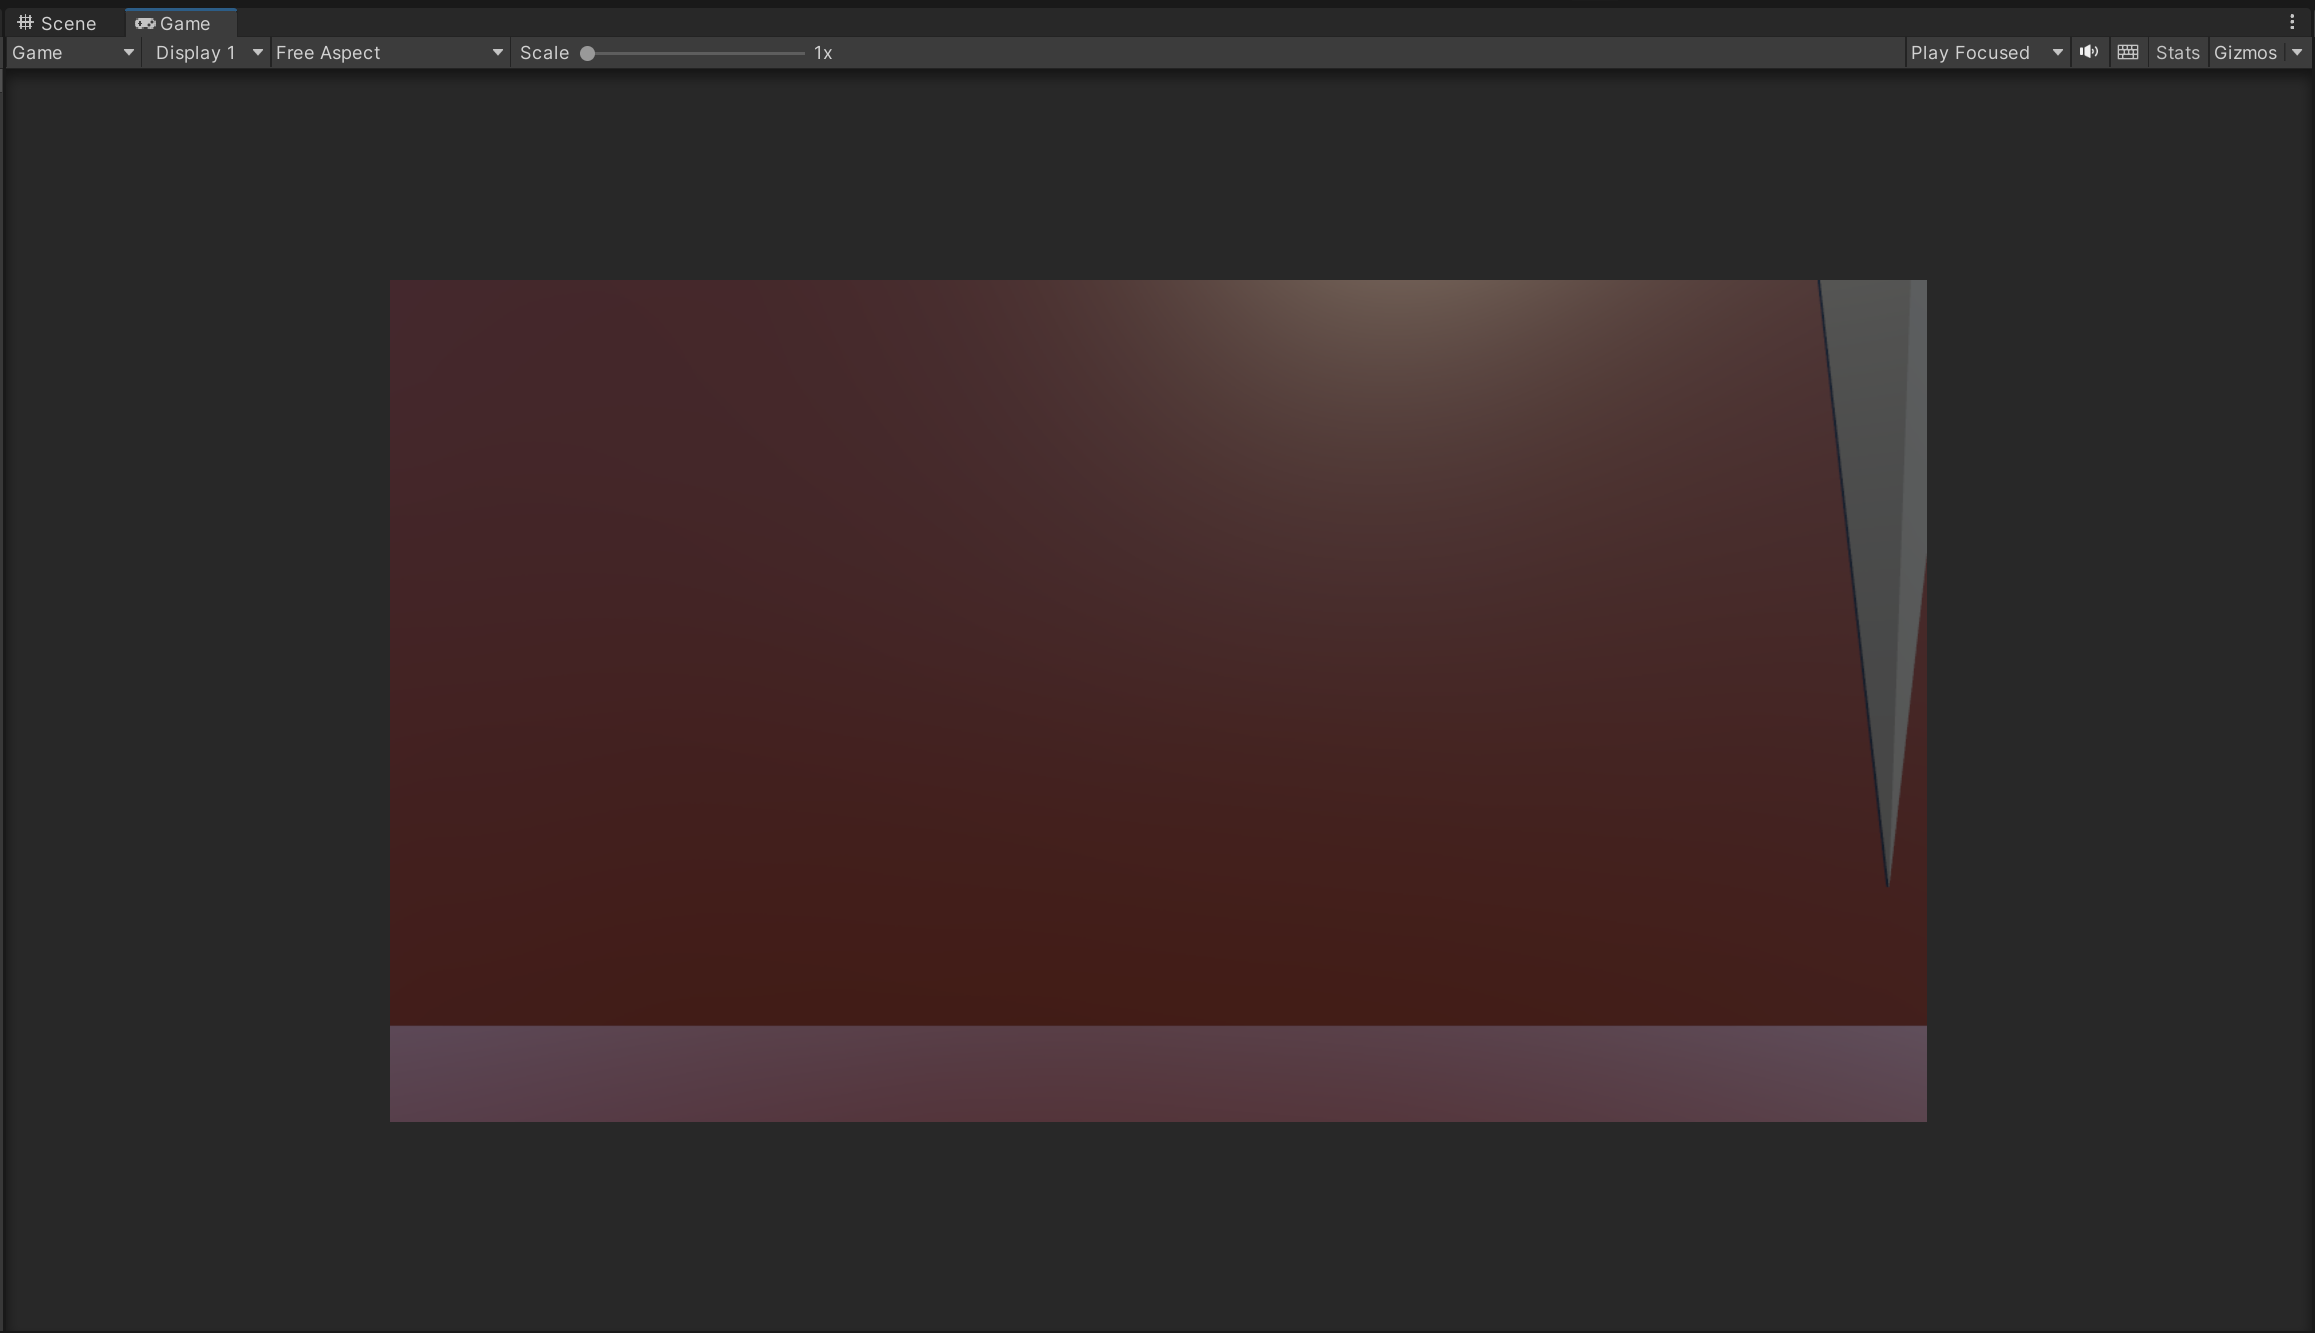
- Don’t worry if you look at the game view and see that the camera is in the ground/object. This is how it should look. When you enter the scene via VR, the camera will adjust (as it tracks the headset) and be the correct height.
- That’s it. Everything should be ready for when you deploy to the quest!
For further things to do with the UXR plug-in, reference the documentation to learn about grab poses, smooth locomotion, teleportation, grabbable objects, etc: