Zero to Quest Meta XR SDK
Overview
Using Unity and Meta Building Blocks SDK for Quest development.
Setting Up Your Unity Project
- Create a New Unity Project:
- Choose either Unity’s Universal Render Pipeline (URP) or the Built-in Render Pipeline.
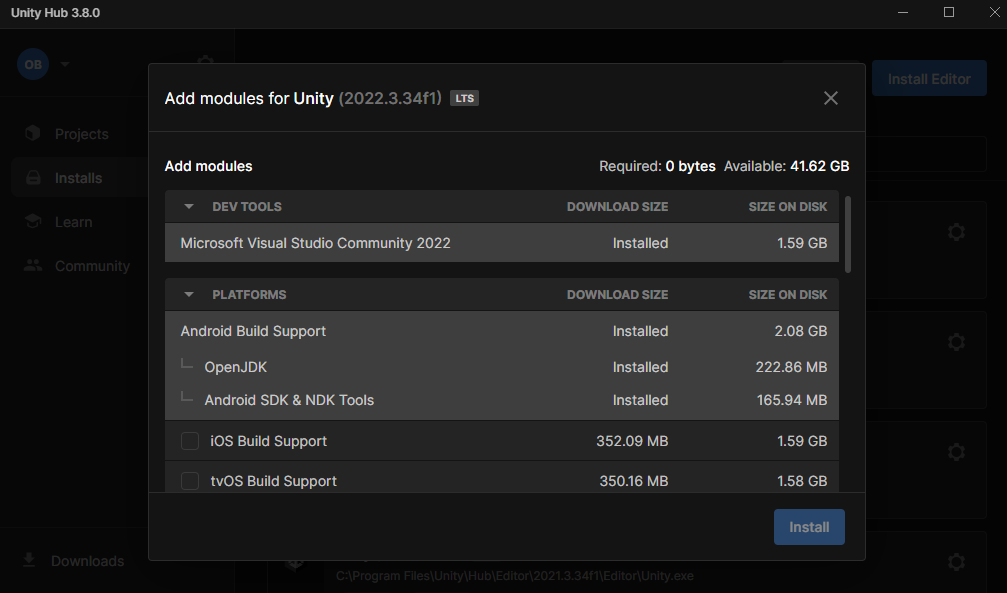
- Ensure that the Android Build Module is installed.

- Switch Platform to Android:
- In your Unity project, navigate to
File > Build Settings. - Select “Android” and click “Switch Platform.”
- In your Unity project, navigate to
Installing the Meta XR SDK
Download and Install the Meta XR All-in-One SDK:
- Get the Meta XR All-in-One SDK from the asset store.
- Add this to your project (from the package manager).
- Restart the Unity editor when prompted.
Install Additional XR Plugins:
- Open the Package Manager (
Window > Package Manager).- Make sure you have selected the “Unity Registry” packages.
- Install the “XR Plugin Management” package.
- Navigate to
Meta < Tools < Project Setup Toolin the top menu bar. - In the Project Settings window, under the “Meta XR” tab, ensure “Android” is selected.
- Click “Fix All” to resolve any issues, then click “Apply All” to finalize the setup.
- Note: You may need to repeat this step before building your scene.
- Open the Package Manager (
Configure XR Plugin Management:
- In the Project Settings window, find the “XR Plugin Management” section.
- Ensure both “Android” and “Oculus” options are selected.

Building Your VR Scene
- Create a VR Scene Using Meta Building Blocks:
- Navigate to
Meta < Tools < Building Blocksin the top menu bar. - To create a VR scene, click the plus icon (
+) at the bottom right of the Camera Rig block. - After adding the Camera Rig block, your inspector will load with relevant scripts and position data.
- This configuration controls the behavior and location of the player object.
- In the Inspector, ensure that the “OVR Manager” script on the Camera Rig object has “Quest 3” checked as a Target Device.
- Explore the available building blocks and add either a “Controller Tracking” or “Hand Tracking” block.
- Return to the Camera Rig object in the Inspector, and choose which “Hand Tracking Support” fits your project in the “Quest Features” section.
- Choose the tracking mode based on the blocks you added.
- Navigate to
Preparing for Deployment
Connect Your Headset:
- Ensure your Quest Headset is connected to your computer via a USB-C cable.
- Verify that your Meta account is in Developer Mode and that USB debugging is enabled on your Quest.
- For debugging connection issues, use the Meta Quest Developer Hub software.
Add Scene to Build Settings:
- In the Build Settings window, click “Add Open Scenes” to include your current scene in the build.
Select Your Device:
- Click “Refresh Run Device” and select your connected Quest headset.
Build and Deploy Your Application:
- Click “Build and Run.”
- Choose a suitable location and name for the APK file.
- Once the build process is complete, your application will automatically run on the Quest headset.