Installing Ultimate XR into Your Unity Project
Initial Accounts Setup
This video is from 2020, but it’s still mostly accurate. Changes include Oculus now requiring 2-factor-authentication for developers, and meta’s branding change from oculus accounts to meta accounts. Despite the name change, old links still do seem to work or redirect appropriately. The section on Unity/android build support, I demonstrate again in the walkthrough video below that is up to date.
Walkthrough Video
Recorded Fall of 2022
Overview
Make sure Android is added as a build target for the appropriate version of Unity. You can do this in the Unity Hub. Go to Installs, click the gear icon next to the appropriate version of Unity, and choose “Add Modules”. Add Android Build Support, and the JDK, SDK, and NDK tools.
Go to UltimateXR and click on the download link below the “Watch Teaser” button.
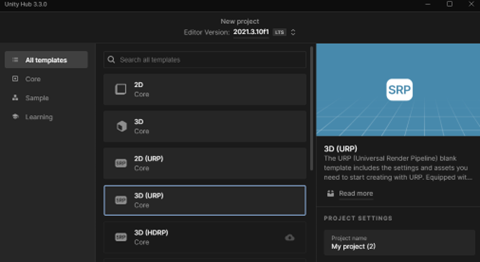
Open a new project in 3D (URP), you may need to download it. DO NOT download the sample scene option.
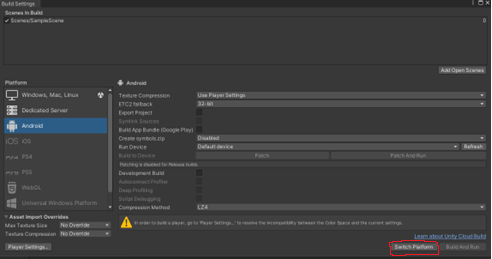
After your project opens, go to File, Build Settings at the bottom of the drop down and click on the Android icon in the platform area. Click Switch Platform in bottom right.
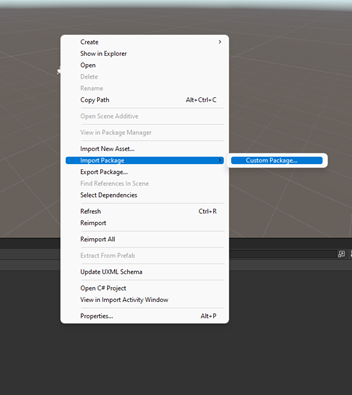
Right click on the assets area in the project tab (bottom by default). Then click on Import Package – Custom Package. Find where you saved the UltimateXR unity add-on and double click. After it loads click import for everything.
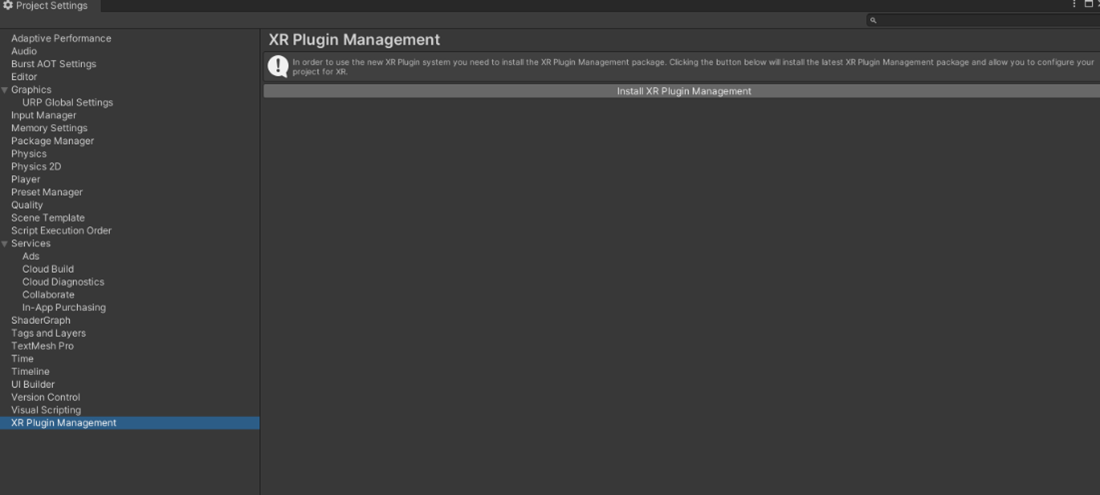
Next, go to the project settings. At the very bottom of the list there is a tab called XR Plugin Management. Click it. Install XR Plugin Management.
Click the android icon, select the oculus check box icon.

Optional - You can select the desktop icon on the far left and click the same check box, oculus. This will allow you to view the game view in your headset without building an apk, using “Oculus Link”.

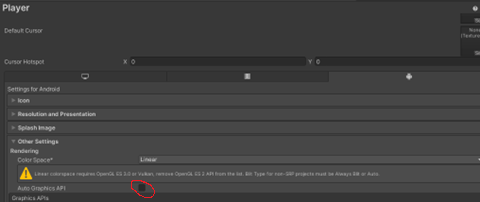
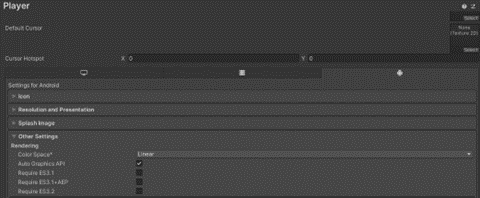
Finally, if you are getting an error related to color management, go to your player settings (it is in the same area as XR-Plugin management tab, just go up the list), select the android icon, and check off Auto Graphics API (under other settings).
